Introduction
This article will teach you how to download and install PostgreSQL on your system.
Downloading and Installing PostgreSQL
To get started working with Postgres, you need two components.
- Postgres Server
It houses your data and manages connections, security, and data maintenance. - Management Application
You need a way to communicate with a server to work with and view the data it contains. For this, you'll need a management application or what is sometimes referred to as a front-end client. There are lots of different clients that you can use to interface with a Postgres Server.
The easiest way to get started is to use an installer that gives us both components in one step. Follow the below step to download and install PostgreSQL:
Step 1
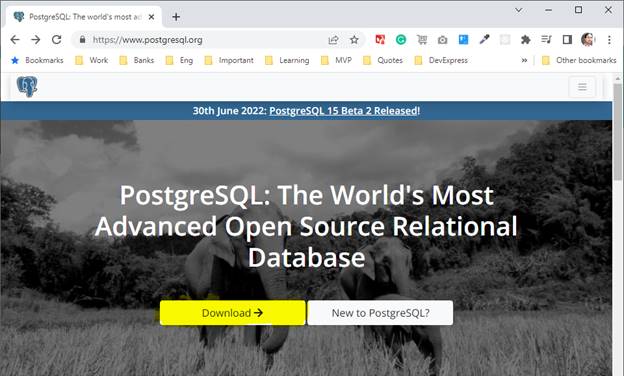
You'll start the installation at the URL postgressql.org. It is the official site for Postgres, and you will find a big download button on the top and click on it.
Step 2
Now a new page will open, with several different application installers available depending on what operating system you're working on.

If you're working on a Linux machine, you will likely already have a version of Postgres since it comes pre-installed with the OS.
The instructions you'll find at these links will help you install an alternate version if you need to. The installation for your macOS and Windows is almost identical. I'm working on a Windows computer, so I will click on the Windows button highlighted with the yellow color.
Step 3
That takes me to a page that describes what versions of Postgres are available on each platform, either a 64-bit or 32-bit.
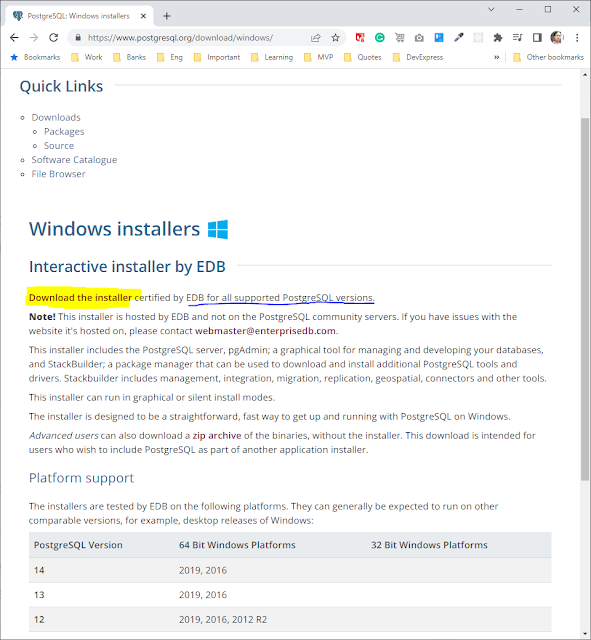
After viewing the platform support information, you can click on the link up here that says download the installer. It takes you to a page maintained by a company called EnterpriseDB.
Step 4
Finally, here you can choose which version of Postgres you want.
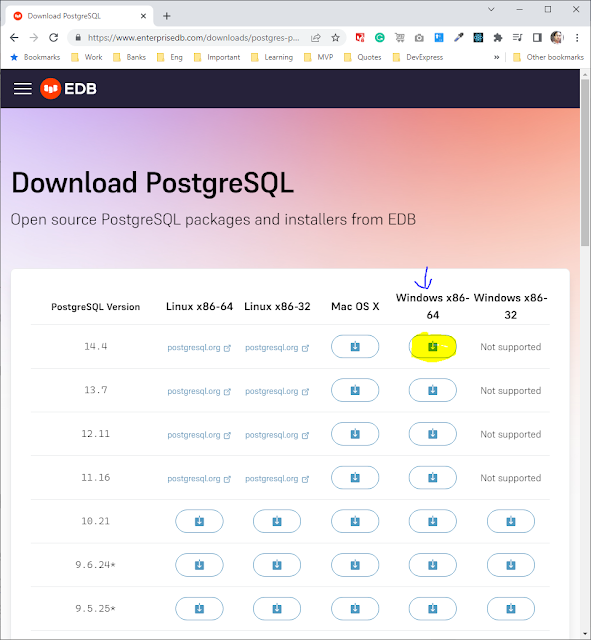
I'll select the downloader for your Postgres by clicking on the download link underneath Windows.
Step 5
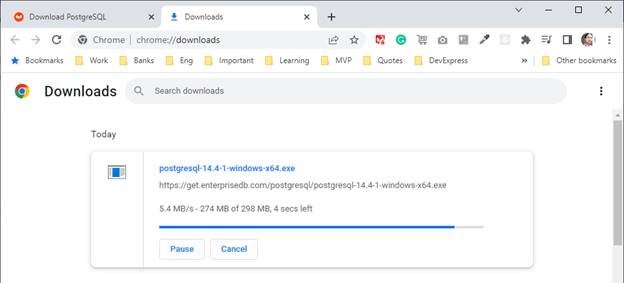
It will start the installation package download, and once the download is completed, as I can see my screen's download progress, you can close the web browser and start the installation process.
You should find the file inside the downloads folder for your computer. Go ahead and double-click on it to start it up. I'll allow it to make changes to my computer.
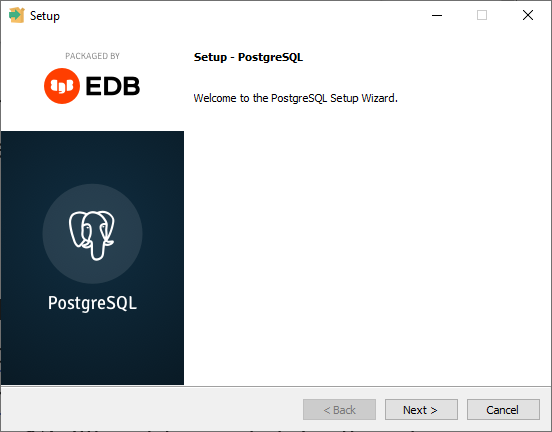
Step 6
So that starts the setup wizard. Let's press the next button on this screen.
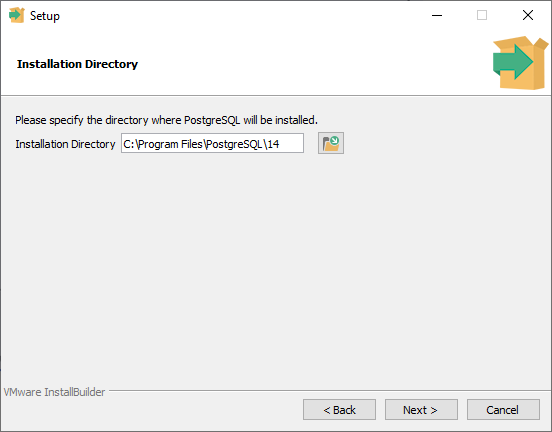
Step 7
The default installation directory will be on my computer, inside the program files folder, a new folder for PostgreSQL, and then the version. I'll leave it to default and press next.
Step 8
Here, you have four different components that you can install.
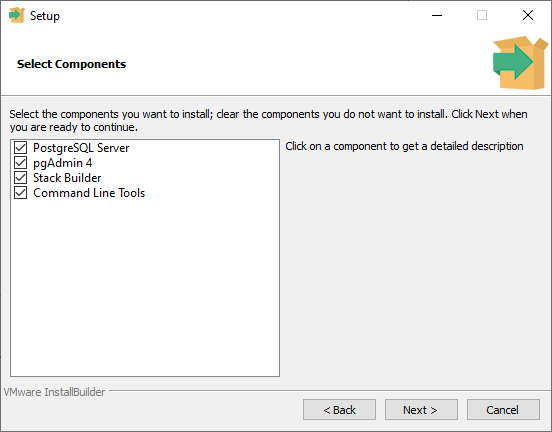
The PostgreSQL Server is the main component, so I want to make sure that that's turned on.
You have two interface clients that are coming along, pgAdmin 4 is a graphical user interface, and I'll leave that on, as well as the command line tools, and I'll leave those on as well.
Stack Builder is a tool that will help you install additional add-on packages if you're interested in extending Postgres' capabilities. You can turn this off if you'd like. I'll leave it on here to install everything, and I'll go ahead and press the next button.
Step 9
Next, it sets up a default data directory. And once again, on my computer, as in program files, PostgreSQL version, and then a new folder called data.
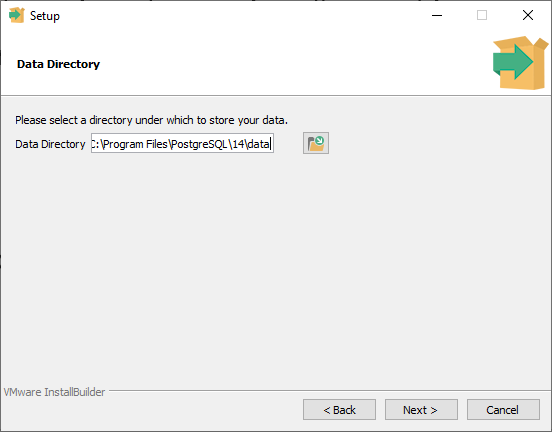
I'll choose that default and press next.
Step 10
You'll need to have a user account to connect to the server. Here, the installer is creating a default user that's named Postgres. And you need to create a password for this user.
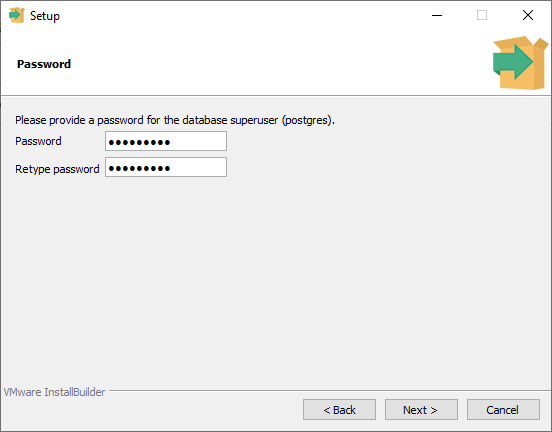
You can type in whatever password you'd like. Just make sure that you remember it moving forward. This user account is going to be an administrator-level account. So this user will have permission to do anything on the server.
Using this, you can create additional user accounts to control access to the stored data in Postgres. Once you've typed in the password and retyped the same password, press the next button.
Step 11
The default port that Postgres will communicate on is 5432.
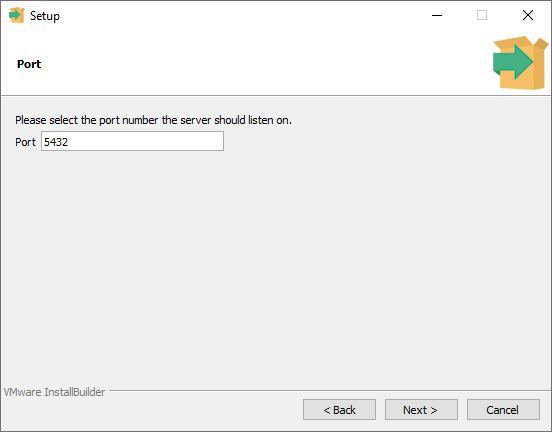
You'll just leave that there and press next.
Step 12
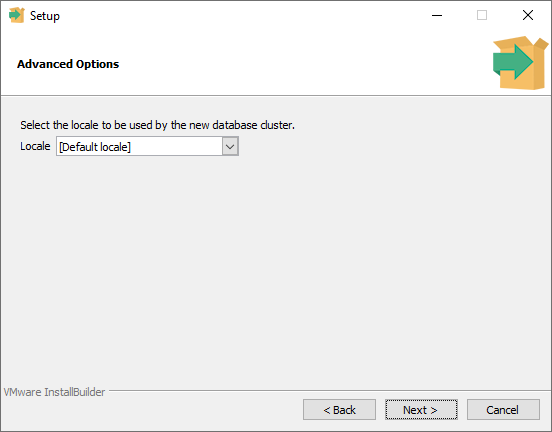
On this screen, you get to choose a default location. Once again, I'll leave this as the default locale and press next.
Step 13
Now the installer will give me an installation summary.
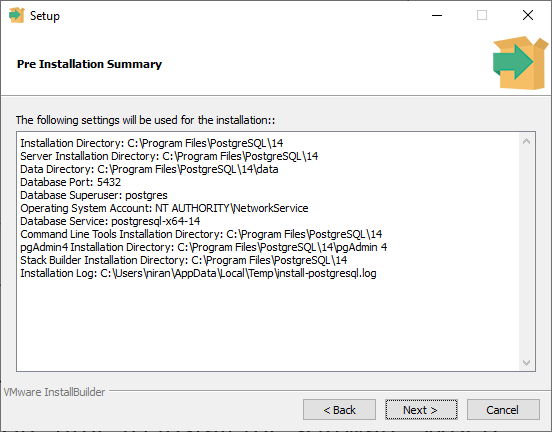
I'll press the next button and the next one more time to install the software.
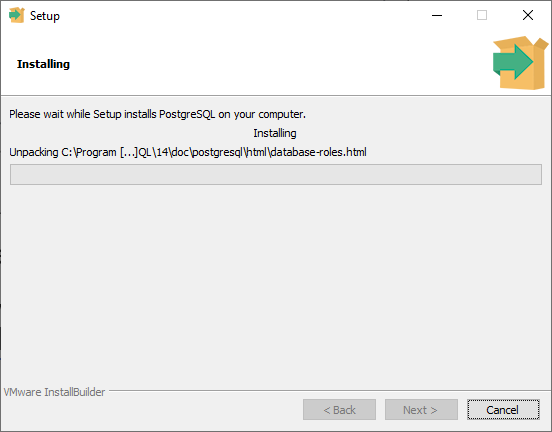
Step 14
When that finishes, the database server and client applications have been installed.
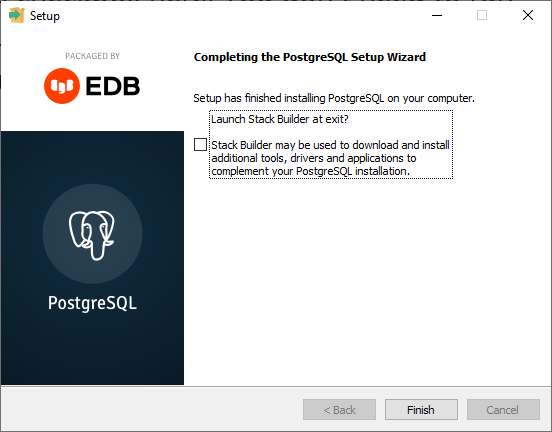
Now, if you can also choose to install the Stack Builder application, you can turn off this checkbox here. You don't need to run Stack Builder when you finish out of this wizard, and I'll uncheck this checkbox and press the finish button.
All done. It is time to test the installation, and you will find the management application to connect with the server.
Now you can go into my start menu, and I'm going to scroll down and find the new folder that was just added for PostgreSQL <version>. Inside of here, you have a couple of applications.
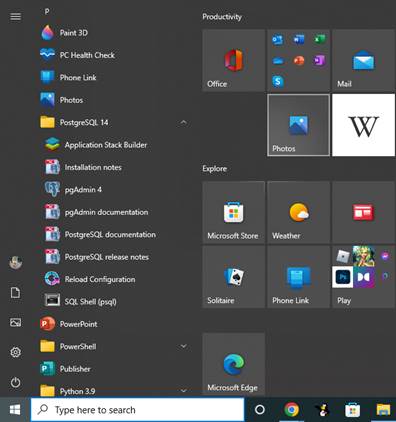
I am only interested in below two applications:
- pgAdmin 4 - This is a graphical user interface for Postgres that'll run inside your web browser.
- SQL Shell or PSQL - This is a command line tool popular with programmers.
You'll find the PostgreSQL <version> folder on macOS inside your applications folder. And inside, there will be the same pgAdmin and PSQL applications. So now you have Postgres Server and a couple of client applications for us to work with.
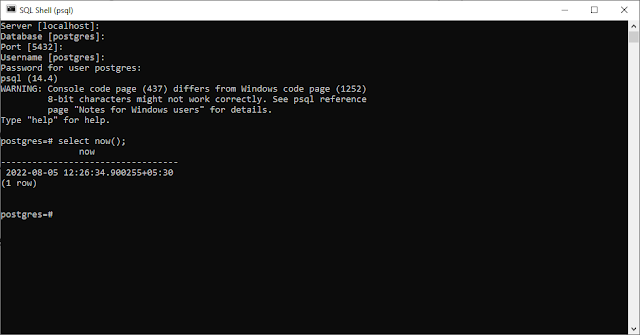
You need to know some connection details to log into a Postgres server.
Server IP:
First, it asks for the server location. If you're in a typical office environment where the Postgres server is running on a centralized computer, then you'll need the IP address of that machine. In our case, we're running the server and client on the same physical machine. So we can use the word localhost instead.
You can either type that in or press Enter, and localhost, the default indicated by the text in square brackets, will be used instead. I'll leave this blank and press Enter to enter in localhost.
Database:
Next, it asks you which database you want to connect to. Each Postgres server can hold many different databases. If you have just installed the server, it is brand new, and there's just one database called Postgres, so I'll log into that one. Again, you can press Enter to accept the default value of Postgres.
Communication port:
Next, we need the communication port that the server is listening on. This was set up during the installation step but is typically left at the default of 5432. I'll press Enter to accept that value.
User Name:
Then we need to provide the user account credentials. Again, during the installation, we created a superuser account named Postgres. So we'll use that. You will supply that username here if you've been assigned your own personal user account for your server.
Password:
Finally, you have to enter the user's password. Again, we gave the Postgres user account a password during setup. So I hope that you remember what you filled in during that step. Go ahead and type it in now. When you type, it will not appear on the screen, so just type it out and press Enter when you're done.
If everything was filled in correctly, you should be connected to the Postgres server, and the command prompt will change. Now we can start sending commands to the server.
Conclusion
We have successfully installed PostgreSQL with these simple steps.
No comments :
Post a Comment